What is the interior wall renovation step?
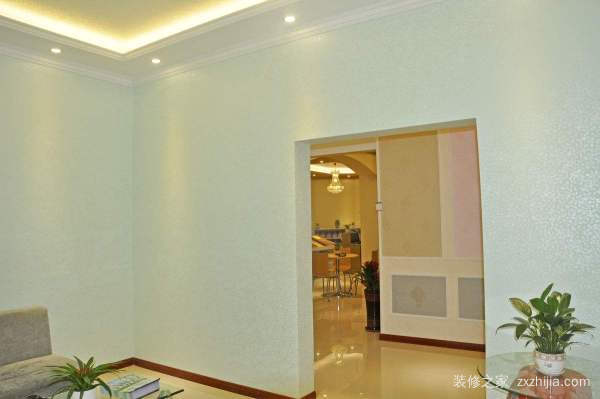
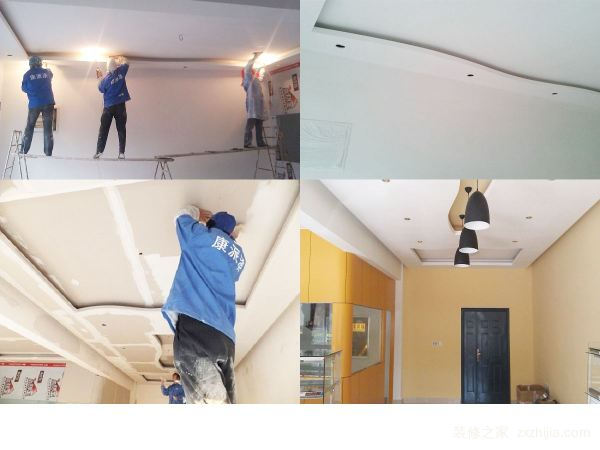
There are actually two major points in the interior wall renovation steps . One is to level the ground and the other is to level the floor. As long as these two things are done, the wall decoration will be successful. So what are the specific steps for wall decoration? Next, follow the decoration of the home network Xiaobian to understand what is the interior wall renovation steps? What is the renovation step of the rough interior wall? Step 1: Check. Determine if a shovel wall and optional materials are required. The identification method is that after the wall is sprinkled, the blade is used to shovel the wall. It is difficult to shovel the cement wall surface; it is easy to shovel the “big white putty†of the white powder and glue, which needs to be removed. Case 1: If it is a cement wall. Thoroughly check whether the cement wall that needs to be painted in the rough room is firm and flat. If the plastering layer on the wall is not strong enough or there is a large area of ​​empty drums, cracks and other engineering quality problems, it is recommended to redo. Case 2: If it is a putty wall. Be sure to check if the putty is a putty for the white powder plus glue. If it is, it must be shoveled and the wall treated again. The base layer of the wall is not strong and easy to be powdered. What is good on the material is also wasted; if it is a qualified finished water-resistant putty, it is very lucky. Step 2: Finished product protection. There will be dust when dealing with the wall surface, and it is inevitable that the decoration materials such as plaster, mortar, water-resistant putty and paint will fall during the construction, so it is necessary to do a good job of protecting the existing finished products in the room in advance. Step 3: Sealing layer treatment. Polymer emulsion interface treatment agent and caulking plaster putty are required. Apply a layer of interface agent to the entire wall. For the empty drums and grooves to be repaired, clean the dust residue inside with a brush and then apply the interface agent. Next, use the leveling repair mortar to repair the flattened hollow drum and wire slot; the black screw on the plasterboard can be smoothed with 425# cement mixed interface agent. The seams between the plasterboards are filled and smoothed with caulking gypsum putty caulking. For smooth wall and top surface, it is recommended to use interface agent + yellow sand + 425# cement + water mixed mortar, use brush brush and other tools to brush and improve the adhesion. Anti-crack bandage treatment: between the gypsum board and the wall-finished seam, the 425# white cement mixed emulsion can be added in the proportion of 1:0.4 with the interface agent to paste the anti-crack bandage. Cement wall surface can be attached to the grid. Large-area repaired walls are recommended to be covered with a “good†white cloth or a mesh belt, and then the bandage is pasted with a caulking plaster putty for smoothing. Do yin and yang angles: Use straightening repair mortar or caulking plaster putty to make straight. According to the actual situation, it can be used as an angle professional tool and a male angle device. Step 4: Thick screed processing. Professional leveling repair mortar is required. If it is a cement blank wall with good flatness and flat yin and yang angle, basically no need to use leveling repair mortar for large-area thickness leveling, you can directly use the functional leveling material ecological type putty, and the scraper can be used for fine leveling. . If it is uneven, the yin and yang angle is not straight or the wall of the shovel wall, it is necessary to use the leveling repair mortar to make the thickness leveling with the trowel, and the gypsum board ceiling needs to be leveled with the caulking plaster putty. Effectively avoid the use of traditional process 801 glue + double fly powder + gypsum powder + talcum powder mixed putty base caused by poor adhesion, cracking, hollow drum and formaldehyde pollution. Step 5: Fine leveling. Water-resistant putty and functional ecological putty are required in wet areas. After the thick leveling is finished, the functional ecological putty can be used for leveling with a scraper. It is necessary to pay attention to full uniform stirring, single batch scraping thickness and grinding timing, etc., to avoid quality problems caused by human factors. The flatness after fine leveling should be controlled to ±1 mm. Step 6: Polish the putty. After the water-resistant putty is stabilized and hardened (usually 5-7 days), it will become very solid, and it will be extremely difficult to polish it at this time. Therefore, it is very important to choose the timing of grinding. It is recommended that the general water-resistant putty should be sanded when it is semi-dry, that is, it is not deformed by light pressure, and there is no watermark on the side. It is polished with 360# sandpaper. Grinding can be done at night, with a light bulb of more than 200 watts close to the wall lighting (the light bulb needs to be leveled during the day), while polishing to check the level of flatness. Step 7: Brush the primer or brush the base film. If the decorative layer is brushed, polish the putty and clean the surface of the floating dust, then you can apply the alkali-resistant primer. The primer roller can be applied once, and it must be even. After it is dry (usually 2-4 hours), the next step of the roller coating can be carried out. If you choose to wallpaper, you need to brush a base film first. Step 8: Brush the topcoat or wallpaper. The wall paint is usually applied twice by roller, and each time should be separated by 2-4 hours or more (depending on the dry condition of the surface) until it is substantially dry. After the second coat is finished, it takes 1-2 days to completely dry out. Before the paint is completely dry, it should be waterproof, drought-proof, dust-proof, ventilated, and sun-proof to avoid problems with the paint film. If the wallpaper is applied and the base film is dry, it can be wallpapered. Step 9: Acceptance. The wall should be solid, flat, vertical yin and yang, no cracks, no holes, uniform color, full of paint film, wallpaper texture stitching, no trace, no bubbles, but also pay attention to check the protection of the finished product. The above is about the interior wall renovation steps? What is the detailed step of the interior decoration of the rough room? I don’t know if you are satisfied with the introduction of the decoration home network. If you want to know more about the exciting content, please continue to pay attention to our home encyclopedia! More related wonderful reading: What are the advantages of interior insulation? What are the disadvantages? Interior wall coating classification, interior wall coating considerations What types of inner wall paper are there? What is the inner wall paper? How to choose interior wall paint? Beware of the misunderstanding of interior wall paint The interior wall latex paint is purchased to teach you how to distinguish the interior wall latex paint. infrared thermometer,forehead temperature gun,forehead thermometer infrared thermometer,forehead temperature gun,forehead thermometer,forehead infrared thermometer Shenzhen Zhuohao Intelligent Electronic Development Co., Ltd. , https://www.szactop-smart.com

