What are the tatami installation steps? Tatami installation considerations
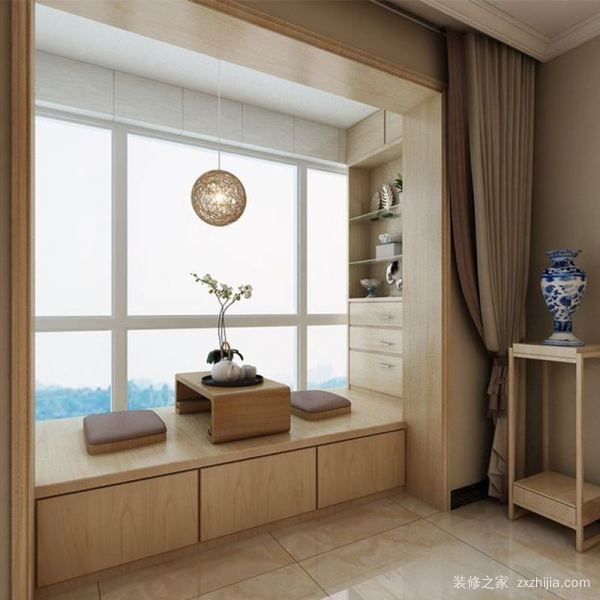
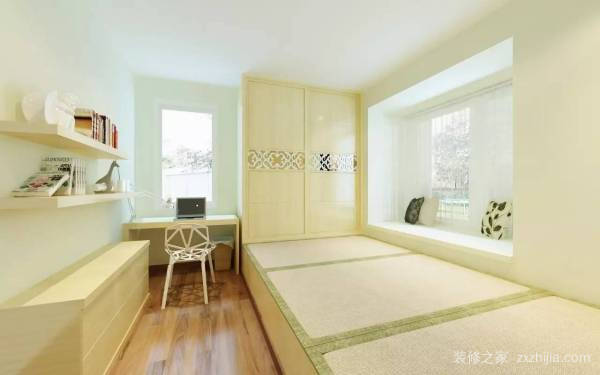
Tatami has been well received by everyone in recent years, and many family new home renovations always want to build a tatami at home. Not only is it a comfortable place to rest, but it can also add some storage space to your home. Although tatami has many advantages, if you don't consider it at the time of installation, it will bring you a lot of trouble! Let's take a look at the installation steps and precautions of the tatami with the decoration home network. Tatami installation steps: 1. The tatami decoration chassis needs to be protected against insects and moisture in advance. It is best to reserve a venting hole. 2, tatami should be lightly handled, do not touch the ground with a single corner; when unpacking multiple pieces should be placed face-to-face, avoiding surface exposure and scratches. 3, the tatami platform of the surface layer, you can use solid wood, you can also use composite flooring, the floor also to do moisture and pest control. The original waterproof layer of the house cannot be damaged. The relevant area should be tested for waterproofing. If there is leakage, the waterproof layer needs to be re-dominated. 4. The tatami back numbers are discharged in the order of the drawings. If it is slightly tight, raise the outermost piece with both hands and evenly carefully hit the side and hit the adjacent piece. 5, the necessary auxiliary materials for laying: grass mat; cardboard strip; edging head. 6, try not to install floor heating or radiator, if the home has installed floor heating, then the space under the tatami is not suitable as a storage space. Tatami installation considerations: The family needs to be a platform, and it is better to have a higher house. For example, a room with a height of 2.9 meters can consider using a platform to create an effect. The practice of the platform is relatively simple, that is, the wooden keel is placed at a distance within the range where the platform needs to be set, and then the wooden floor is fully covered on the keel. If you need to use the space under the table to store items, you can also leave a seesaw on the floor, so you can easily access the items. First of all, if you need storage, materials such as stone, glass, and cement cannot be used. The owner can choose solid wood or wear-resistant boards such as pine and fir, which are both durable and beautiful. The inside of the platform directly uses the plate to make the division of the storage compartment, and also serves as a support for the load. In addition, the board itself has natural wood grain and no need to decorate it. If you use a large core board as a bracket, you can put a decorative film on the inside to make a fake wood grain effect. Secondly, the ordinary platform can be as long as 15cm-20cm, but the tatami platform can be discharged in addition to the storage (the floor is flush with the ground when it is lowered, but the legs are hidden in the platform). The height of the platform must be between 35cm and 40cm, otherwise it will not make much sense for storage. The reporter also learned during the market visit that the tatami platform should not have a curved shape, only suitable for the straight floor. In addition, the way of storing the platform mainly includes side-opening (doors on the side of the platform), pull-out type (drawer on the side of the platform), and top-loading type (the top of the platform can be mounted on the top). These methods can be used on the tatami floor, but the first two are recommended, so that the tatami does not need to be opened. However, if you want to take the captain type, you can set multiple doors on the top plate, which is not only easy to open, but also convenient to take, and will not affect the overall design of the platform. As long as the tatami is divided into the same size as the door, it does not affect the opening of the door. In addition, depending on the size of the platform, a variety of storage methods can also be used in combination. Since the depth of the side opening type and the drawing type cannot exceed 60 cm, the large floor can be laterally opened on the outside and the upper side can be used on the inside. The above content is the introduction of tatami installation steps and precautions for everyone in this small series. For your reference, I believe that after reading this article, you will have a certain understanding of the tatami installation, hoping to install tatami. The friends offered some advice. For more exciting home improvement content, please continue to pay attention to the decoration home network.
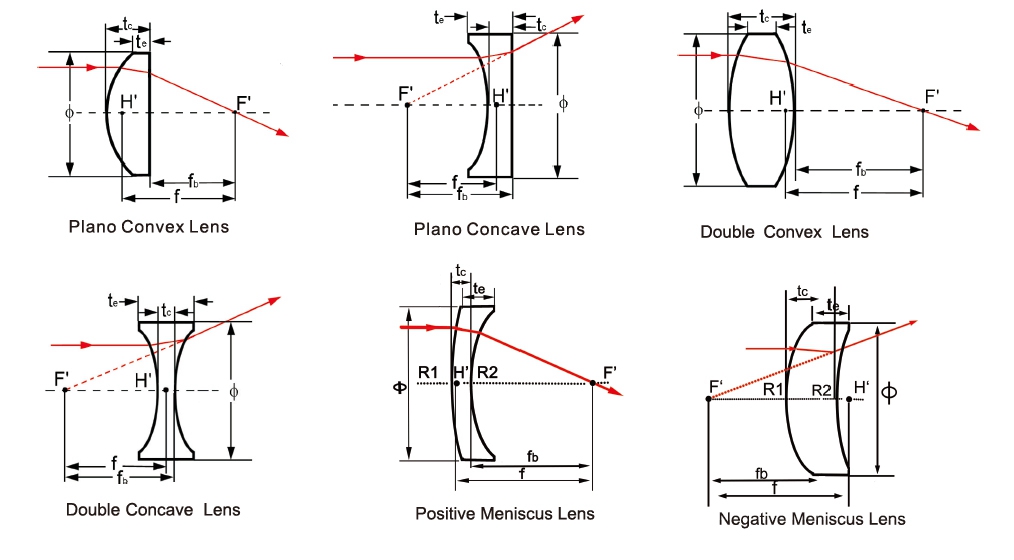
Meniscus Lenses: The Positive Meniscus can increase the NA of the system while only adding slightly to the total spherical aberrations. The Negative Meniscus Lens is used to increase the focal length of another lens while maintaining the angular resolution of the optical assembly. This lens shape is best used when one conjugate is relatively far from the lens. The meniscus lens plays a divergent role in the optical path, and is commonly used in photographic system, objective lens system and laser measuring system.
We supply kinds of Plano-Convex Spherical Lens,Plano-Concave Spherical Lens,bi-convex Spherical Lens,bi-concave spherical lens,meniscus spherical lens,special spherical lens,achromatic spherical lens,ball lens,sphere lens etc.
Specification of our optical meniscus spherical lens as follow:
Meniscus Spherical Lens,Meniscus Spherical Lenses,Optical Glass Meniscus Lens,Glass Meniscus Lens China Star Optics Technology Co.,Ltd. , https://www.realpoooptics.com


*Material BK7,CaF2 crystal,MgF2,Ge,BaF2 lens,ZnSe or other optical materials
*Dimension Tolerance +0.0 - -0.1mm
*Center Thickness +/-0.1mm
*Focal Length Tolerance+/-1%
*Surface Quality:60/40
*Surface Figure:lambda/2 at 633nm on plano side
*Clear Aperture >90%
*Chamfer 0.25mm at 45 degree typical
*Coating Optional