Influence of tool edge arc on machining of CNC lathe
In the process of using the CNC lathe, in order to reduce the roughness of the surface of the workpiece to be processed, reduce the tool wear and improve the tool life, the blade edge of the tool is usually ground into a circular arc shape, and the radius of the arc is generally between 0.4 and 1.6 mm. CNC lathes with tool nose radius compensation function (G41, G42), as long as the workpiece size is programmed directly in the machining program, there will be no machining error caused by the tool nose arc; and the CNC lathe without this function is processed. It will be affected by the arc of the tool tip. In severe cases, the workpiece will be over-depleted. This problem is now discussed with respect to the machining of the SR10 - 0.04 spherical surface in the workpiece shown in Figure 1. Method 1: Change the programming size The steps are as follows: draw the workpiece sketch → draw the tool nose arc motion track based on the tool nose arc radius r and the workpiece size → calculate the arc center track feature point → programming. In this process, the drawing of the center of the tool nose arc and the calculation of its feature points are a bit cumbersome. If you use the drawing function of the CAD software medium distance line and the coordinate query function of the point to complete this work, it is very convenient. In addition, when processing by this method, the operator should pay attention to the following two points: 1) Check whether the r value of the tool nose arc radius of the tool used matches the r value in the program; 2) When setting the tool, it is necessary to put r The value is taken into account, ie if the tool offsets obtained for the tool are x (X-axis) and y (Z-axis), the tool offsets that should actually be entered are x-2r and yr. This paper mainly discusses the processing of the outer edge convex arc as an example. Other types of arc surface and cone surface also have similar problems, which will not be repeated here.
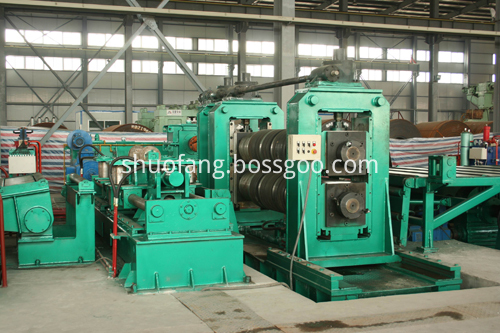
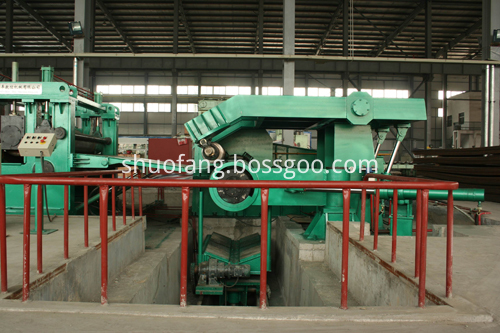
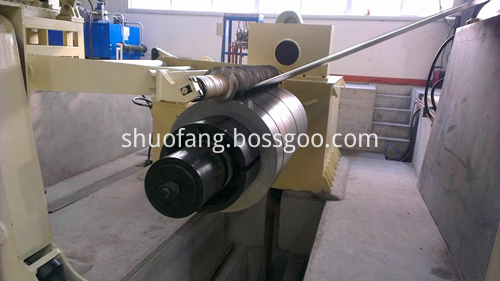
Coil Decoiler& slitting & shearing machine
SF is focus on quality and company's image. We win market with good quality and service. The company has already passed International Quality Management System ISO9001:2008 certification for many years and also got the CE certificate, smoothly got the title of High and New Tech Enterprises. And has more than ten own intellectual property rights and patent technology. We have own import and export right. Our products exported to Russia, South Asia, South east Asia, Middle East, South America, Africa, Australia, Eastern Europe etc.
Slitting Machine,Coil Slitting Machine,Steel Coil Slitting Machine,Slitting Machine For Steel Coil Shandong EN FIN CNC Machinery Co., Ltd , https://www.sdfincnc.com
2 Processing error analysis
3 error elimination method
Before change After the change ...
N100 G00 X0 Z50
N105 G03 X10 Z42 R10 FO.1
... ...
N100 G00 X0 Z50
N105 G03 X10 Z42 R10.4 FO.1
... 

